Docker is a containerization platform that has been around since 2013. It tries to eliminate the it-works-on-my-machine problem. In this mini-article, we'll discuss what are containers and images in a very simple way. We'll also try to run a PHP file via Docker. Let's get started!
Basic Terminologies
Images
A Docker image is basically a file that's a snapshot of a container. Images are used to run containers. Think of it as a blueprint and the house is the container.
Containers
Docker Container is an instance of a Docker image. Think of it as a 'running image'.
Demo
In this demo, we'll be running a simple PHP script that prints a text on the browser without installing any other shits (👀Apache).
Create a simple PHP script
Create a new directory called scripts, then inside it, create a new file luffy.php.
<?php
  // scripts/luffy.php

  echo "Gomu Gomu no bazooooka!";
Dockerfile
So we've already talked about images and containers but we haven't actually tried making one. A Dockerfile is a text file that holds commands and keywords that Docker uses to build the image.
Create a new file directly above the scripts directory and name it Dockerfile. Copy and paste the code below.
FROM php:7.2-apache

COPY scripts/ /var/www/html

EXPOSE 80
Dockerfile Dissection
FROM- This instruction pulls an image from a public Docker repository like Docker Hub. In our case, we need to havephpandapacheinstalled. With luck on our side, there's already an image that has PHP and Apache. The format for setting the base image isFROM image:tag.COPY- This instruction copies the files in<source>to<destination>.EXPOSE- This instructions tells Docker which ports the container is listening during runtime.
Building the Docker Image
Since we have already created the Dockerfile, it's time for Docker to build the image. While in the directory where Dockerfile is located, issue this command to build the image:
docker build -t bazooka .
During the first time, it would download all the layers needed. So you will see something like this:
Sending build context to Docker daemon  3.584kB
Step 1/3 : FROM php:7.2-apache
7.2-apache: Pulling from library/php
be8881be8156: Pull complete
69a25f7e4930: Pull complete
65632e89c5f4: Pull complete
cd75fa32da8f: Pull complete
15bc7736db11: Pull complete
b2c40cef4807: Pull complete
f3507e55e5eb: Pull complete
e6006cdfa16b: Pull complete
a3ed406e3c88: Pull complete
ae70e16ef035: Pull complete
b9501b07bdf1: Pull complete
f9ecb48a3c12: Pull complete
23d9db872f7e: Pull complete
c41139f0d4f5: Pull complete
f180ba12d718: Pull complete
Digest: sha256:34d20a90946b2a2e05ca6d2fe71f1394168af6dc1d18ab8211cc43f1679410cb
Status: Downloaded newer image for php:7.2-apache
 ---> 6a99292078a8
Step 2/3 : COPY scripts/ /var/www/html
 ---> c00fd3a92d60
Step 3/3 : EXPOSE 80
 ---> Running in bf9e253efab6
Removing intermediate container bf9e253efab6
 ---> 81b417c196b3
Successfully built 81b417c196b3
Successfully tagged bazooka:latest
Running the image
To run the created image:
docker run -p 80:80 bazooka
Formula: docker run <flags|options> <image-name>
-p- This flag is used to forward a port.<host|your-machine>:<container>
Appreciate the magic!
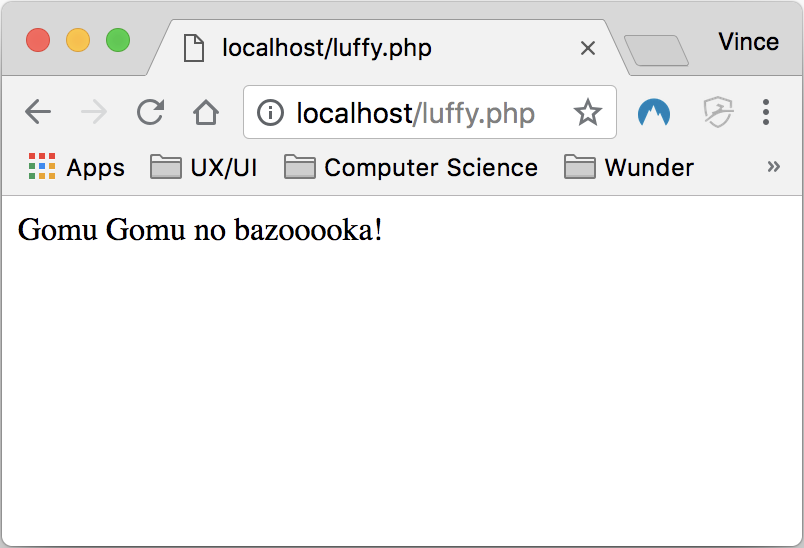
Open your browser then access localhost/luffy.php. You should now see the text "Gomu Gomu no bazooooka!" printed.


